
Add Wall Textures Before Painting
Are you getting ready to remodel or paint your home’s interior? Consider adding texture to the walls before painting them. Adding texture to a wall gives the room more character than just a plain flat wall. You can add texture to an entire room, a single wall, or just the ceiling. There are several different types of texture so we’ll cover the 5 most trendy styles in this blog. You can apply some of these textures yourself while others will need a professional to apply it. Contact professional painters such as Alamo City Handymen to prepare, texturize, and paint your home’s interior for you.
Jump to Section
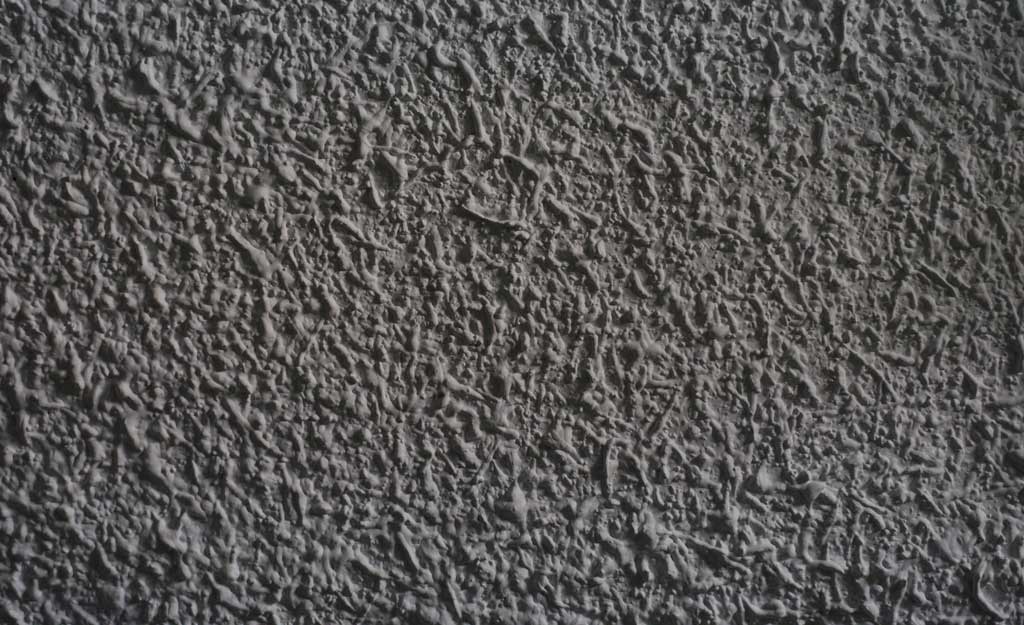
Popcorn Wall Texture
Most people can easily recognize the popcorn texture if they’ve been in older homes or apartment buildings. It has a sharp bumpy feel to it as if there were small pebbles inside of it. What you’re feeling is a mixture of drywall mud and styrofoam. It first appeared in homes in the 1930’s and became commonly used in the 50’s. It was a popular texture for ceilings because it acted as a sound barrier. It fell out of popularity around the 1970’s because the old texture contained asbestos but the new material is made of styrofoam and is now safe. It’s relatively easy to apply this yourself with the use of an air compressor, hopper gun, and the propcorn mixture. Make sure you cover everything in the room with a tarp before spraying the walls or ceiling.
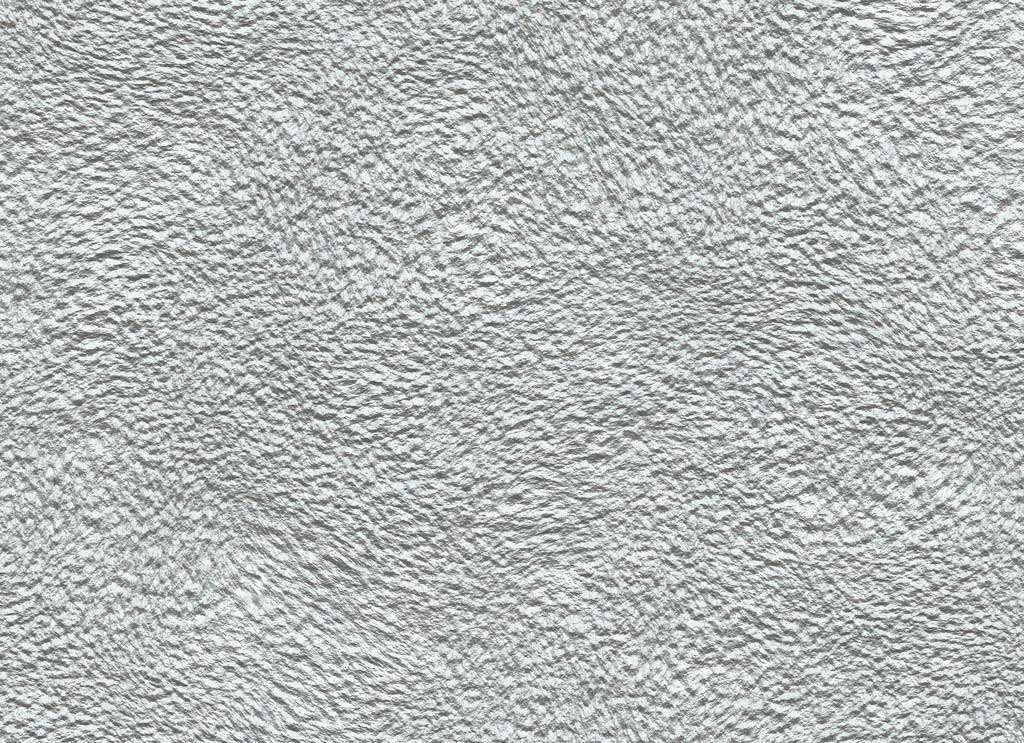
Orange Peel Wall Texture
The orange peel texture looks and feels just like the surface of an orange peel. This style originated in the 1960’s but became popular in the 1980’s in Southwestern United States. The orange peel texture was commonly used in kitchens and bathrooms because it’s smooth and therefore easier to clean than the popcorn style. This texture is easy for DIYers to apply themselves with a little bit of testing and patience. You’ll want to prime, sand, and clean off the walls of dust before application. The equipment you need is an air compressor, hopper gun, an air-adjustable valve for the hopper, and drywall compound. The compound needs to be watered down until it’s the consistency of a thick hair conditioner. The air-adjustable valve will allow you to spray light or heavy splatters of the compound. Do not fully cover the drywall with this texture; leave some empty spaces so you can see orange peel effect.
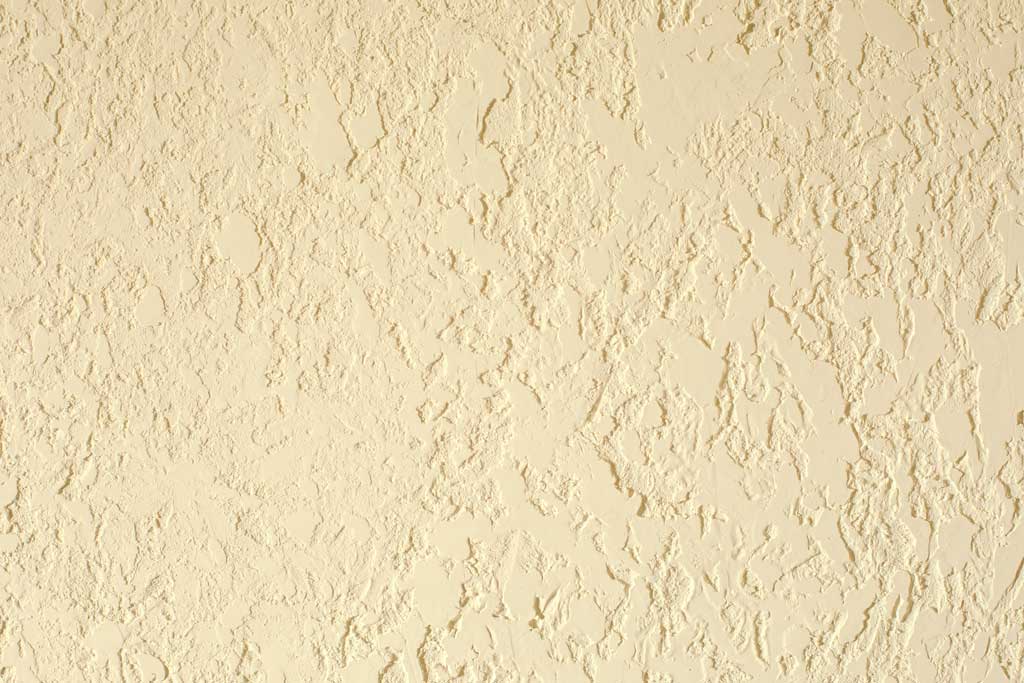
Knockdown Wall Texture
The knockdown texture is like a combination of the orange peel texture and stucco. It can be applied like the orange peel texture but the mixture should be looser. Apply the mixture, let it set for 10 – 15 minutes and then flatten it down with a wide knockdown knife. A knockdown knife has a soft blade that erases trowel lines and was specifically made for creating the knockdown texture. The mixture can also be applied with a trowel and smoothed out with the same trowel. This is called the mud trowel application. A third method is, stomp or slap brush, which uses a paint roller to apply the drywall mud, a crows foot brush or slap brush to stab at the mud and spike it up, and then a knockdown knife to flatten it. Overall, the spray technique is the fastest and easiest application. This texture first became popular in the 1990’s and is still trending today.
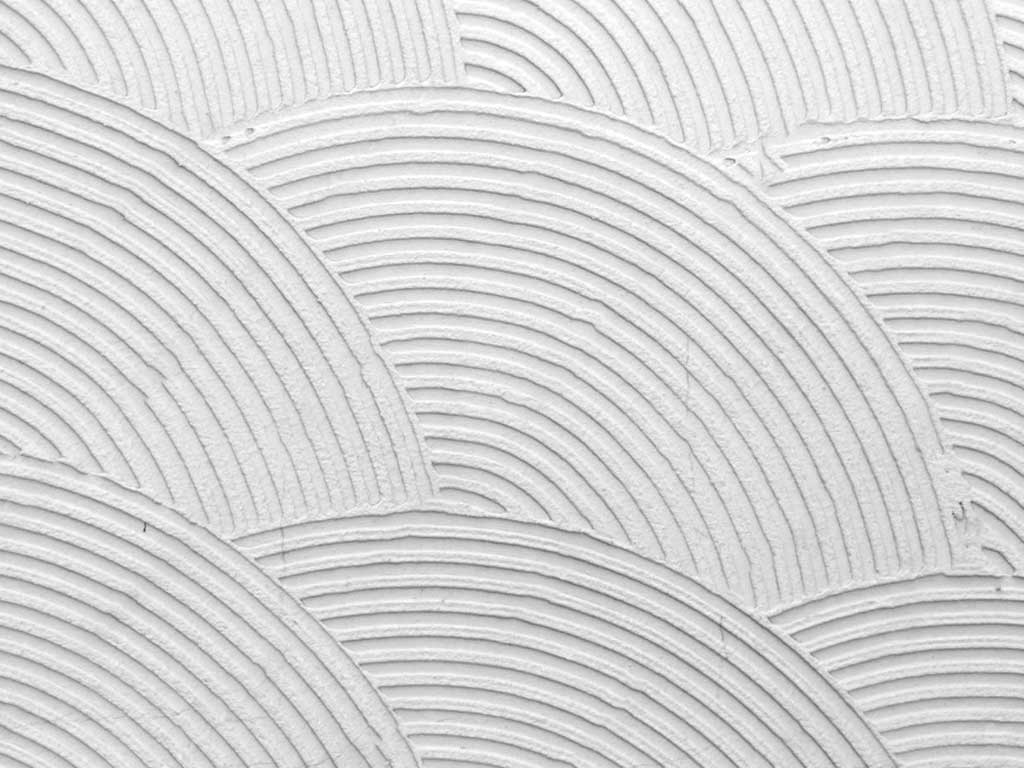
Comb Wall Texture
The comb texture is an easy application but can produce simple or complex designs. Start off with using a paint roller to spread drywall mud across the wall. Then use a toothed trowel to scrape grooves/lines into the mud. Trowels come in several sizes with large or small teeth, teeth that are close together or placed far apart, and uneven teeth to create random grooves. The first thing to decide before buying a trowel is what kind of design you want to make. Common designs are fans, rainbows, circles, and waves. Buy a trowel or trowels to create your specific design. You can be really creative with this technique so plan ahead of time before you apply the drywall compound because it will dry quickly.
Venetian Wall Texture
The Venetian texture is difficult to apply and should be left to professionals. It has a smooth, polished, stone like finish. It was first created in Rome circa 900 BC. and regained popularity during the Italian Renaissance. Artists of that time used marble to create sculptures and the excess marble dust was combined with lime based plaster to produce an almost watertight substance to protect their buildings. The same process can be used today with a lime plaster, marble dust and a trowel to spread several thin layers until a multi-color combination is achieved. Then you will sand and buff it until you reach a polished finish. You can also take the easy route and buy a premixed Venetian plaster but it doesn’t compare to the authentic method.
Adding a texture to your walls or ceiling is a creative way to make your house feel elegant and artistic. Call Alamo City Handymen today to discuss adding texture to your walls and finishing it off with a professional paint job.
