
Remodel Your Kitchen from Top to Bottom (part 2)
Remodeling your kitchen is an extensive process and we’ll take you through all the necessary steps. In the first blog we covered design, demolition, reframing, and updating utilities. In this blog we’ll go over steps that will turn your gutted kitchen back into an actual finished room.
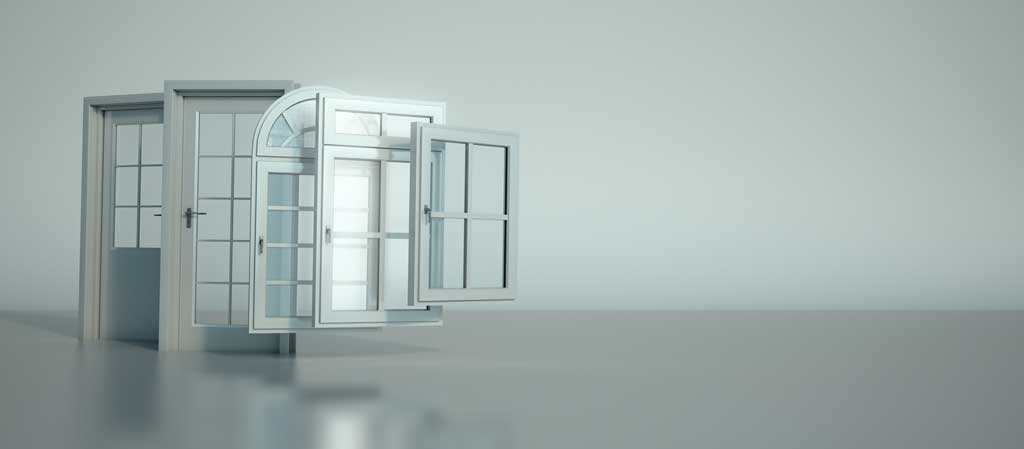
Install Doors And Windows
We last left the kitchen in a gutted state with the framing showing. New framing was added or moved to allow new windows and doors to be installed. If you’re retaining the old windows then make sure to seal any gaps or replace the old caulking to ensure a tight fit for better insulation.
The three main materials used for windows are vinyl, wood, and fiberglass. Choose the best material for your decor and budget. Vinyl is the least expensive followed by wood and then fiberglass. Fiberglass windows are strong and don’t react to hot and damp weather like wood does but wood has a more classical look and can easily be painted whenever you want to redesign your kitchen. Vinyl windows don’t need to be painted and need the least maintenance. Some of the best window designs for the kitchen are Casement, Sliding, Double-Hung, Bay, and Bow windows.
Now is also the time to install doors in the kitchen if that’s part of your design. Some people prefer an open design while others prefer to keep the kitchen out of view. We recommend a swinging door so you can easily open it even with your hands full. The thing to remember at this point is not to add the final trim around the windows and doors. That will be added after the drywall has been installed.
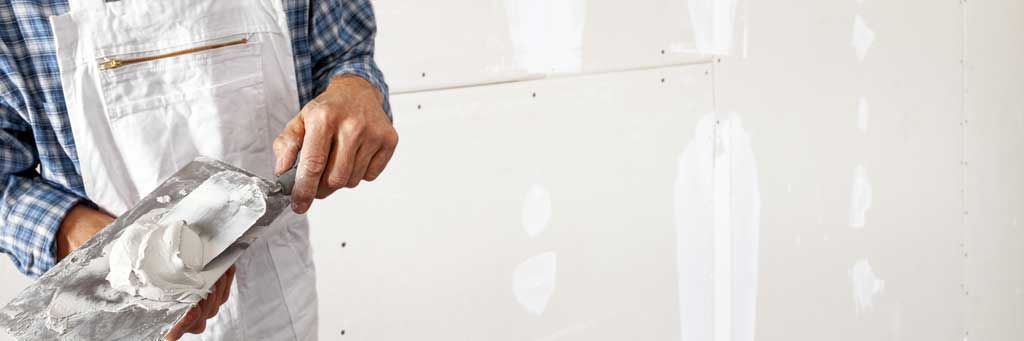
Hang Drywall
It’s time to hang the drywall now that the windows and doors have been installed. The contractor will hang the drywall/sheetrock on the frames of the walls and ceiling. They will cut out any areas for plumbing and electrical outlets and lighting fixtures. Then they will tape and float the seams to make it look like one solid piece instead of panels. The drywall is installed with screws so those areas will be hidden with drywall compound. They may have to sand the tape and floated areas and the drywall compound to make it smooth overall. A fine dust will be created so make sure to cover any areas that may get dusty. A layer of high-quality latex primer will be painted on once the dust is cleared and the floated areas are dry.
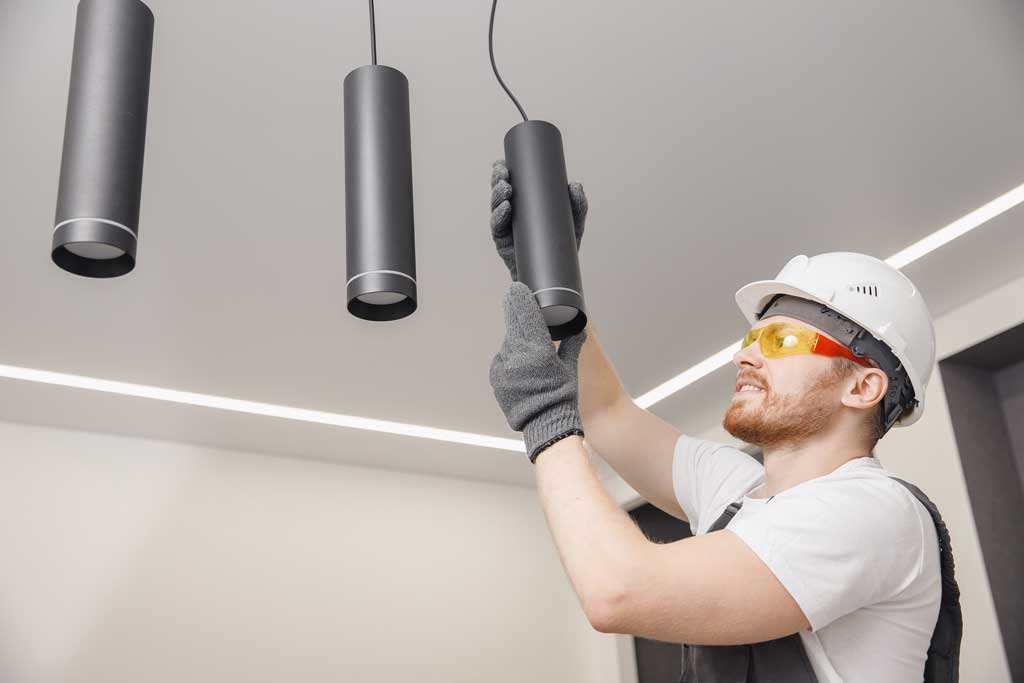
Install Lighting And Electrical Fixtures
Your contractor may bring in an electrician to handle this part if they’re not experienced enough in this area. It’s best to have a professional install any fixtures to ensure everything is done correct and is safe for your family and house. Aside from lighting fixtures they can also install dimmers, outlets, switches, smart light systems, and any special wiring for appliances.
Adequate lighting is needed not only for ambience but for safety and cleanliness. The kitchen can be a dangerous area and you want proper lighting to see clearly. Chandeliers, recessed lighting, and track lighting are the most common choices for the main lighting fixture. You can add pendant lights over specific areas like a kitchen island if you need a better directional light. Under cabinet lights are a good accent light to illuminate counters and to keep on for cozy ambient lighting if you don’t want the main fixture on. Don’t forget to add a recessed light above your stove or install a range hood with an integrated light. Stay away from pendant lights above the stove because it can easily be splattered and get dirty quickly. If you do install one then make sure it hangs at least 30 inches above the stove.
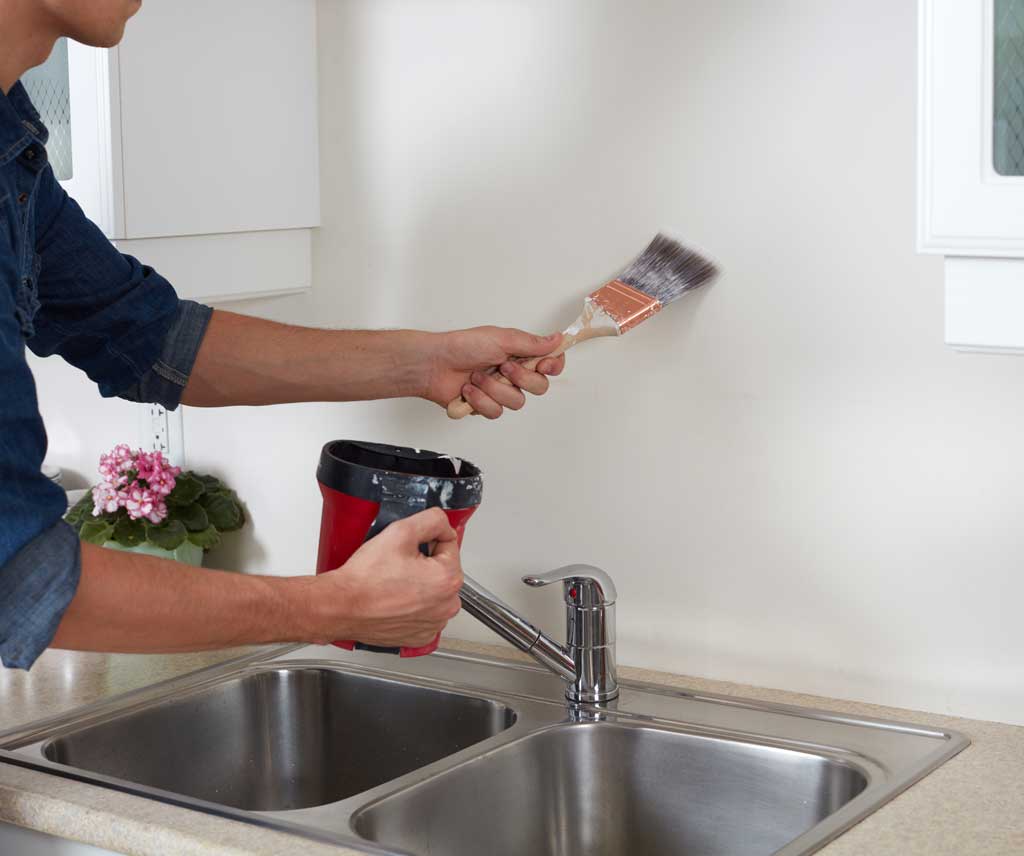
Paint Walls
The drywall and its primer has had time to thoroughly dry and it’s time to paint. Have you picked the color yet? Take into consideration the color of the cabinets you’re going to install and the appliances and decor you have chosen. A neutral palette may be the safest way to go. Neutral colors are light with a faint hue that compliments but doesn’t overbear your decor. A neutral palette includes the colors beige, gray, tan, cream, or plain white. You can add a bright color to the wood trim if you want a splash of color.
Some popular bold colors for the kitchen are shades of red, yellow, blue, and green. These colors go well if you have light colored or wood cabinets to offset the bright walls. Strong colors can enhance your mood. What kind of mood do you want your kitchen to inspire? Red stirs your appetite and blues and greens can cause a calming effect and yellow is energizing. The boldest color, or non-color, you can choose is black. Yes some people paint their kitchen black and it is beautiful. It goes well with dark or light cabinets and your chrome appliances will absolutely dazzle your eyes. Good lighting and windows will keep the room from feeling small and confining.
Whatever color you choose, make sure it goes well with the rest of the house as well. If you’re thinking of selling your house any time soon then a neutral palette might be your best bet. You don’t want a potential buyer turning away because the colors overwhelm them.
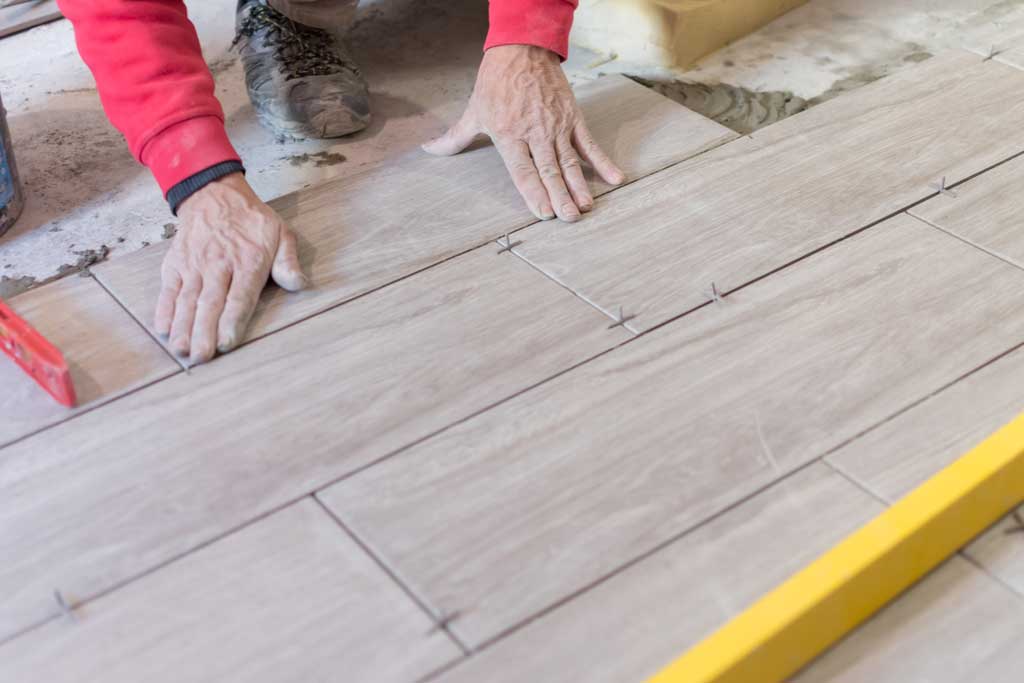
Install Flooring
Flooring is another hard decision to make. What color do you want and what material should it be? The most common kitchen flooring choices are: Vinyl, Laminate, Hardwood, and Ceramic Tiles.
- Vinyl is the least expensive and easiest to clean and maintain of all the options. Vinyl comes in several colors and designs and can look like stone or wood.
- Laminate floors are great mimics like vinyl except they look more realistic. They can easily fool the untrained eye into thinking it’s an actual wood or stone floor.
- Hardwood floors can make any room look elegant, cozy, or rustic depending on the color you choose. The colors range from a light blond to red or ebony. Wood floors in the kitchen used to be a poor choice because of water damage but today’s sealants protect wood better than ever.
- Ceramic tiles are a classic choice for kitchens. They come in several colors and designs and are easy to keep clean. They take a little longer to install and you may need to clean the grout occasionally so it doesn’t stain, or just use a dark grout and don’t worry about it.
Get ready to set up and finish the kitchen on our third and final blog on kitchen remodeling. We’ll cover the topics: base and wall cabinets, countertops and backsplash, sink(s), and appliance installation. Contact Alamo City Handymen to schedule a consultation and start your own remodeling.
