
Remodel Your Kitchen from Top to Bottom (part 3)
We’re almost done in covering the process of remodeling your kitchen. In the first blog we covered design, demolition, reframing, and updating utilities. The second blog covered installing windows, drywall, lighting, flooring, and painting. In this blog we’ll go over the final steps that will turn this bare room into the fully functioning kitchen of your dreams.
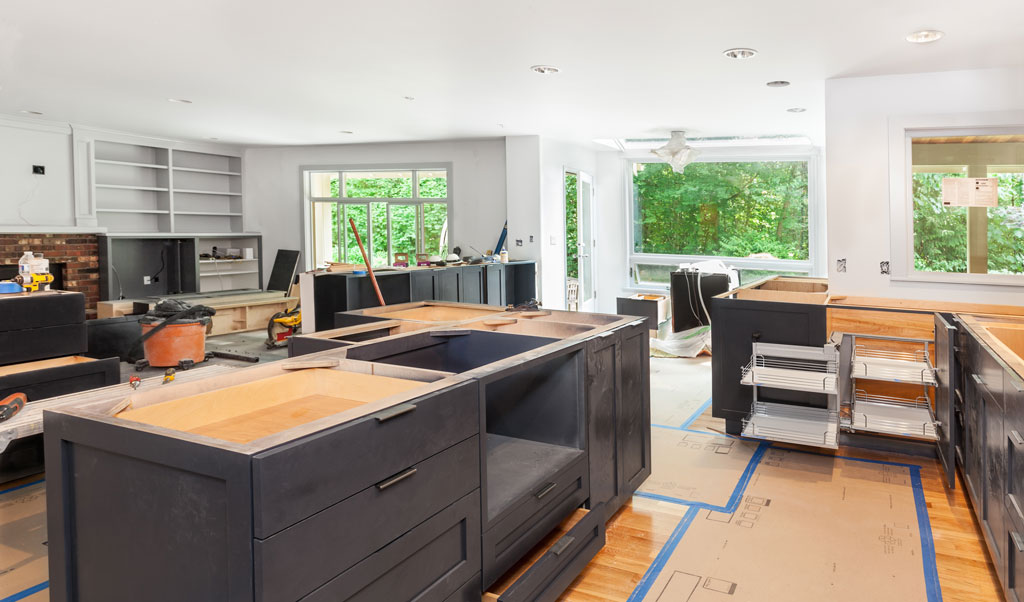
Install Base And Wall Cabinets
Now it’s time to install the cabinets you so carefully chose at the beginning of the project. We know this was a hard decision for you because there are many styles to choose from such as Shaker, Traditional, Glass Front, Beadboard, Flat panel, and many more. Apart from the style you also had to choose the material and color of the cabinets. Aside from visual aesthetics, cabinets also need to suit your needs to run an organized and efficient kitchen.
We’ll start by hanging the wall cabinets first and then proceed to the lower or base cabinets. The base cabinets usually hold countertop appliances that aren’t used everyday and large dishware and storage containers. We recommend Pull-Out drawers as opposed to standard shelving in base cabinets. Pull-Out drawers make it easier on you to reach items in the back without having to squat down and search for whatever you need. It’s also easier on your back when lifting heavy items.
We’ll also install the knobs and pulls after the cabinets have been installed.
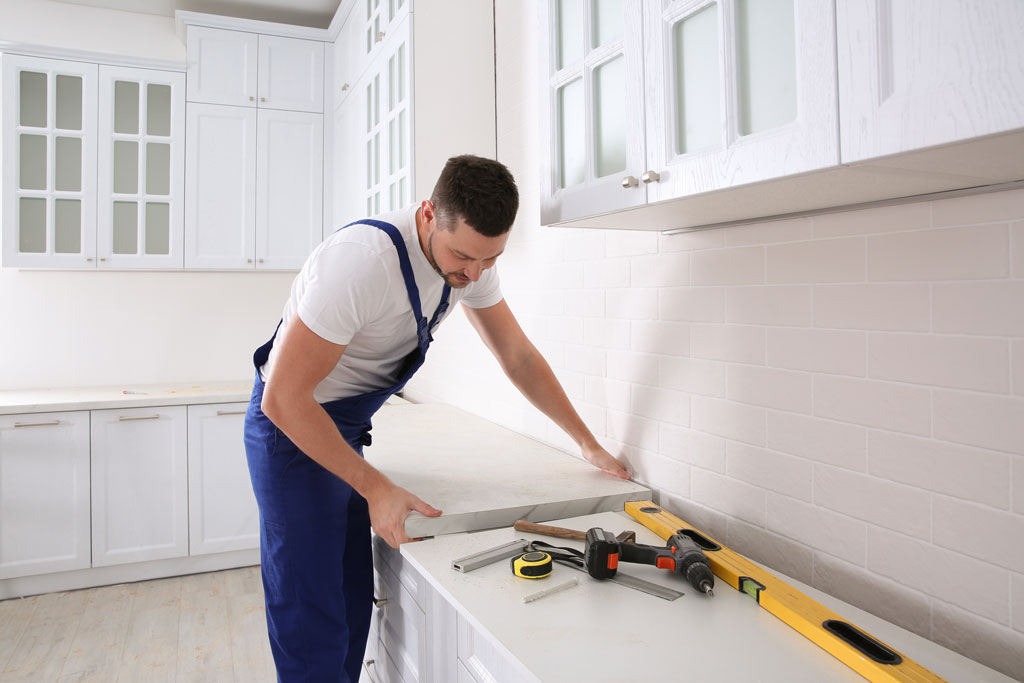
Install Countertops And Backsplash
We can install the countertop now that the cabinets have been placed. The countertop is one of the most important parts of your kitchen. It’s where you do a lot of food preparation and also use it as a serving area for parties and family gatherings. A nice countertop isn’t just aesthetically appealing but can also raise your property value so choosing the right material is crucial. Deciding on the right countertop material for your home depends on your budget and how much maintenance you want to take on. Some common countertop materials are Granite, Marble, Quartz, and Laminate. Granite is the iop of the line and most desired material to use. It’s elegant and hardy but will require you to seal it from time to time because it’s porous. Marble is beautiful as well but it cracks and stains easily. Quartz is as dense and beautiful as granite and isn’t porous like granite so no sealant is needed. The downside to quartz is that it doesn’t handle heat well. So a hot crock-pot or pan can warp or discolor a quartz countertop. Laminate is the cheapest option, water resistant and easy to clean but is not the prettiest option.
Next comes the backsplash which is the area between the countertop and the wall cabinets and most importantly above the sink. Tile is usually used for this area because you want something easy to clean. Offset white subway tiles are the traditional option but you can also use glass, stone, ceramic, hand painted tiles and porcelain tiles as well as other materials like wood and metal. The backsplash is an area where you can have fun and add a splash of color and intricate tile patterns. There is no standard height for a backsplash. It can be a few inches high or more than a foot high. This is an area where you can be really creative but make sure that it compliments the rest of the kitchen and doesn’t stand out as an eyesore.

Install Sink And Plumbing Fixtures
The sink is ready to be installed now that the counters and countertop have been installed. Choosing the right sink for you depends on the style of kitchen you have and what you need your sink to handle. Do you need a single basin or a double basin sink? Do you need a deep or shallow sink? What material do you need the sink to be made of? There are several styles to choose from such as:
- Farmhouse Sink
- Stainless Steel Sink
- Granite Sink
- Undermount Sink
- Cast Iron Sink
- Fireclay Sink
Once you choose the proper sink for your kitchen then you need to pick the right faucet as well. There’s always the standard, traditional faucet with handles or a single pulldown handle and a spray nozzle, but technology has changed how we use faucets. We now have touchless faucets and voice-activated faucets. Consider installing a voice-activated faucet if you have other smart devices in your kitchen to make it truly modern.

Installing Large Appliances
The final step in remodeling your kitchen is to install large appliances. When you started the remodel you designed and created a floorplan for the new kitchen so that the appliances fit perfectly into the spaces left for them. Whether you’re bringing in your old appliances or installing brand new ones; everything should easily slide into place if the floorplan was followed. Leave it to the professionals to install the appliances correctly and safely. They are the best ones to identify any problems and fix them at the same time. Your refrigerator will need to connect to a water source for the icemaker and the dishwasher needs a water and drainage connection as well. The stove needs to connect to the gas line and the hood to the exhaust system. Some kitchens might also have a dishwasher, garbage disposal, and a washer/dryer installed as well. Any other small appliances like coffee makers, blenders, fryers, toaster ovens, and more can be handled by you since they usually just need to be plugged into an electrical socket. Last but not least; please install a smoke alarm.
